DIY Website Checklist: The Complete Guide to Building Your Own Website
I know, sometimes building your own website can feel overwhelming, especially if you’re doing it for the first time. There are countless decisions to make, tools to choose from, and technical steps that are easy to overlook.
That’s why we wrote this guide. The following clear and practical DIY Website Checklist will help you stay organised, avoid common mistakes, and launch a website that looks professional and importantly, performs just as well.
We bring together all the essential steps you need to follow, based on what top industry resources recommend and the gaps they often leave behind.
Instead of focusing only on the technical mumbo jumbo, this checklist covers planning, branding, content, SEO, testing, and launch preparation so you can build a website that works for you from day one.
Article Sections
Start with a clear plan
Before you open a website builder or install a theme, you really need to take the time to plan. Many beginners skip this stage, but cliche aside, it really is the foundation of any successful website.
You need to define the purpose of your website. Decide who your audience is and what they need from you. Map out the pages you’ll include and the actions you want visitors to take. A simple plan will prevent confusion later down the track, and keeps your website project focused on the right outcomes.
Establish your branding
Branding is one of the most overlooked steps in any DIY Website project, yet it has a major impact on how professional and trustworthy your site feels. Before you begin designing pages, take time to define the visual and verbal identity that will guide every decision you make.
This ensures your website looks consistent, communicates clearly, and reflects the personality of your business.
Start by choosing a colour palette that aligns with the mood you want to create. Colours influence how visitors feel when they land on your site, so select a small set of primary and secondary colours you can use across backgrounds, buttons, headings, and graphics. Keep your palette simple to avoid visual clutter.
Next, choose your typography. Select one or two fonts that are easy to read and work well together. Many DIY websites suffer from inconsistent font choices, which can make the design look unpolished. Decide on a font for headings, another for body text, and stick to them throughout your site.
Your imagery style is another important part of your branding. Decide whether you’ll use photography, illustrations, icons, or a mix of these. Aim for a consistent look so your pages feel unified. If you’re using photos, choose images that match your brand’s tone—whether that’s friendly, corporate, creative, or minimalist.
Prepare your logo in multiple sizes and formats so it displays clearly on all devices. Create a favicon, which is the small icon that appears in browser tabs. It’s a small detail, but it helps reinforce your brand and makes your site look complete.
Finally, consider writing a simple brand style guide. It doesn’t need to be complicated. A single page outlining your colours, fonts, logo usage, and imagery style is enough to keep your design consistent as you build your website and add new content over time.
Choose the right platform
Choosing the right platform is one of the most important decisions in any DIY Website Checklist. The platform you select will determine how flexible your site is, how easy it is to update, and how much control you have over design and functionality.
While many guides push a single solution, the truth is that the best platform depends entirely on your goals, your technical comfort level, and the type of website you want to build.
Start by thinking about what your website needs to do. A simple brochure site has very different requirements from an online store or a content‑heavy blog. Once you understand your needs, you can compare platforms more effectively.
WordPress is one of the most popular options because it offers enormous flexibility and thousands of plugins. It’s ideal for blogs, business websites, and more complex builds. However, it does require some learning, especially when it comes to hosting, security, and updates.
Shopify is purpose‑built for e‑commerce. If your main goal is to sell products online, it provides a streamlined setup, secure checkout, and a wide range of apps. It’s less flexible for non‑store content, but excellent for online retail.
Squarespace and Wix are user‑friendly, all‑in‑one builders that suit beginners who want a visually polished site without dealing with technical setup. They offer drag‑and‑drop design tools and hosting included, making them good choices for portfolios, small business sites, and simple service pages.
As you compare platforms, consider cost, ease of use, design options, available features, and long‑term scalability. Think about how comfortable you are with technology and how much time you want to spend maintaining your site. The right platform should support your goals now while giving you room to grow in the future.
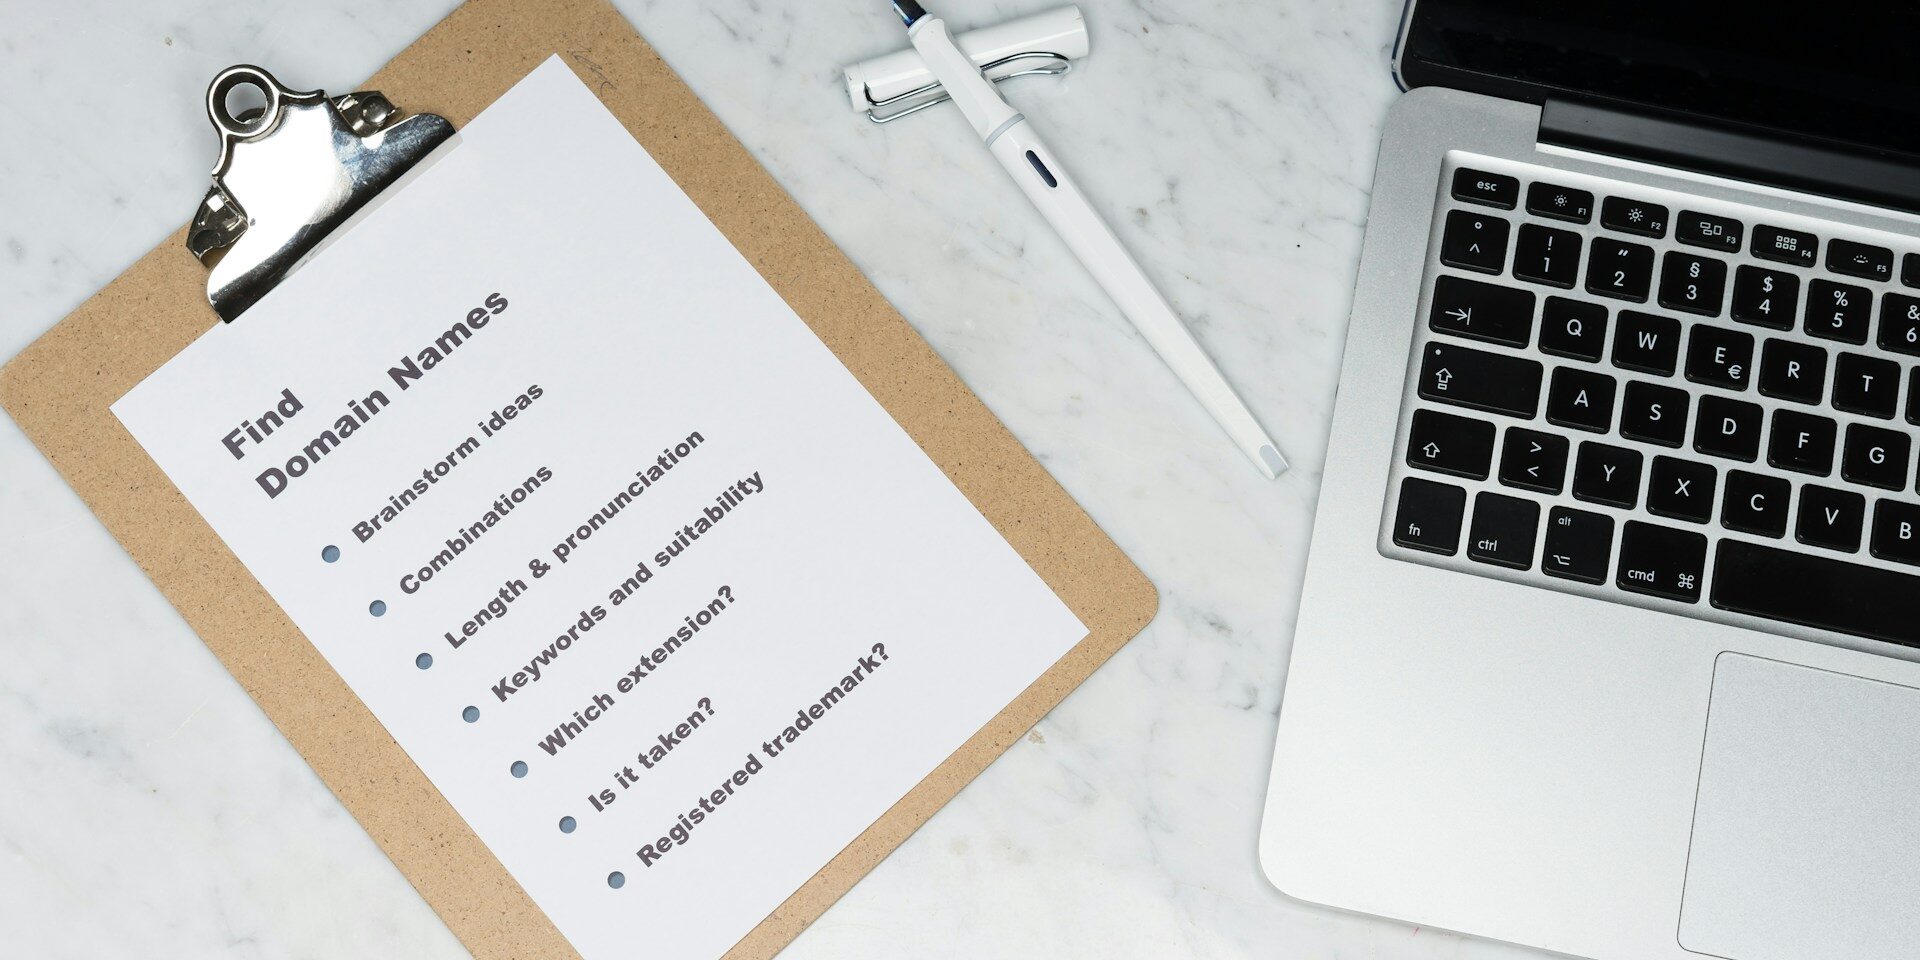
Set up your domain and hosting
Setting up your domain and hosting is a key part of any DIY Website Checklist because it forms the technical foundation your entire website relies on. Even if you’re using a beginner‑friendly website builder, it’s important to understand how these pieces fit together so you can make informed decisions and avoid problems later.
Your domain name is your online address, so choose something that reflects your brand and is easy for people to remember. Aim for a name that’s short, clear, and free of confusing spelling. If your preferred name isn’t available, consider simple variations rather than adding unnecessary words or symbols. Once you’ve chosen your domain, register it through a reputable provider to ensure you maintain full control over it.
Hosting is where your website’s files live. The quality of your hosting affects your site’s speed, security, and reliability.
If you’re using a platform like Shopify, Squarespace, or Wix, hosting is included automatically. If you’re building on WordPress, you’ll need to choose a hosting provider yourself. Look for one that offers strong performance, good customer support, automatic backups, and built‑in security features.
An SSL certificate is another essential part of your setup. It encrypts the connection between your website and your visitors, which protects sensitive information and builds trust. Most hosting providers now include SSL for free, and many platforms install it automatically. Make sure it’s active before you launch, as browsers will warn visitors if your site isn’t secure.
Once your hosting is ready, connect your domain to your website platform. This step can feel technical, but most providers offer clear instructions. After connecting everything, set up professional email addresses using your domain. This helps your business look more credible and keeps your communication organised.
Taking the time to set up your domain and hosting properly ensures your website loads quickly, stays secure, and is ready to grow as your needs evolve.
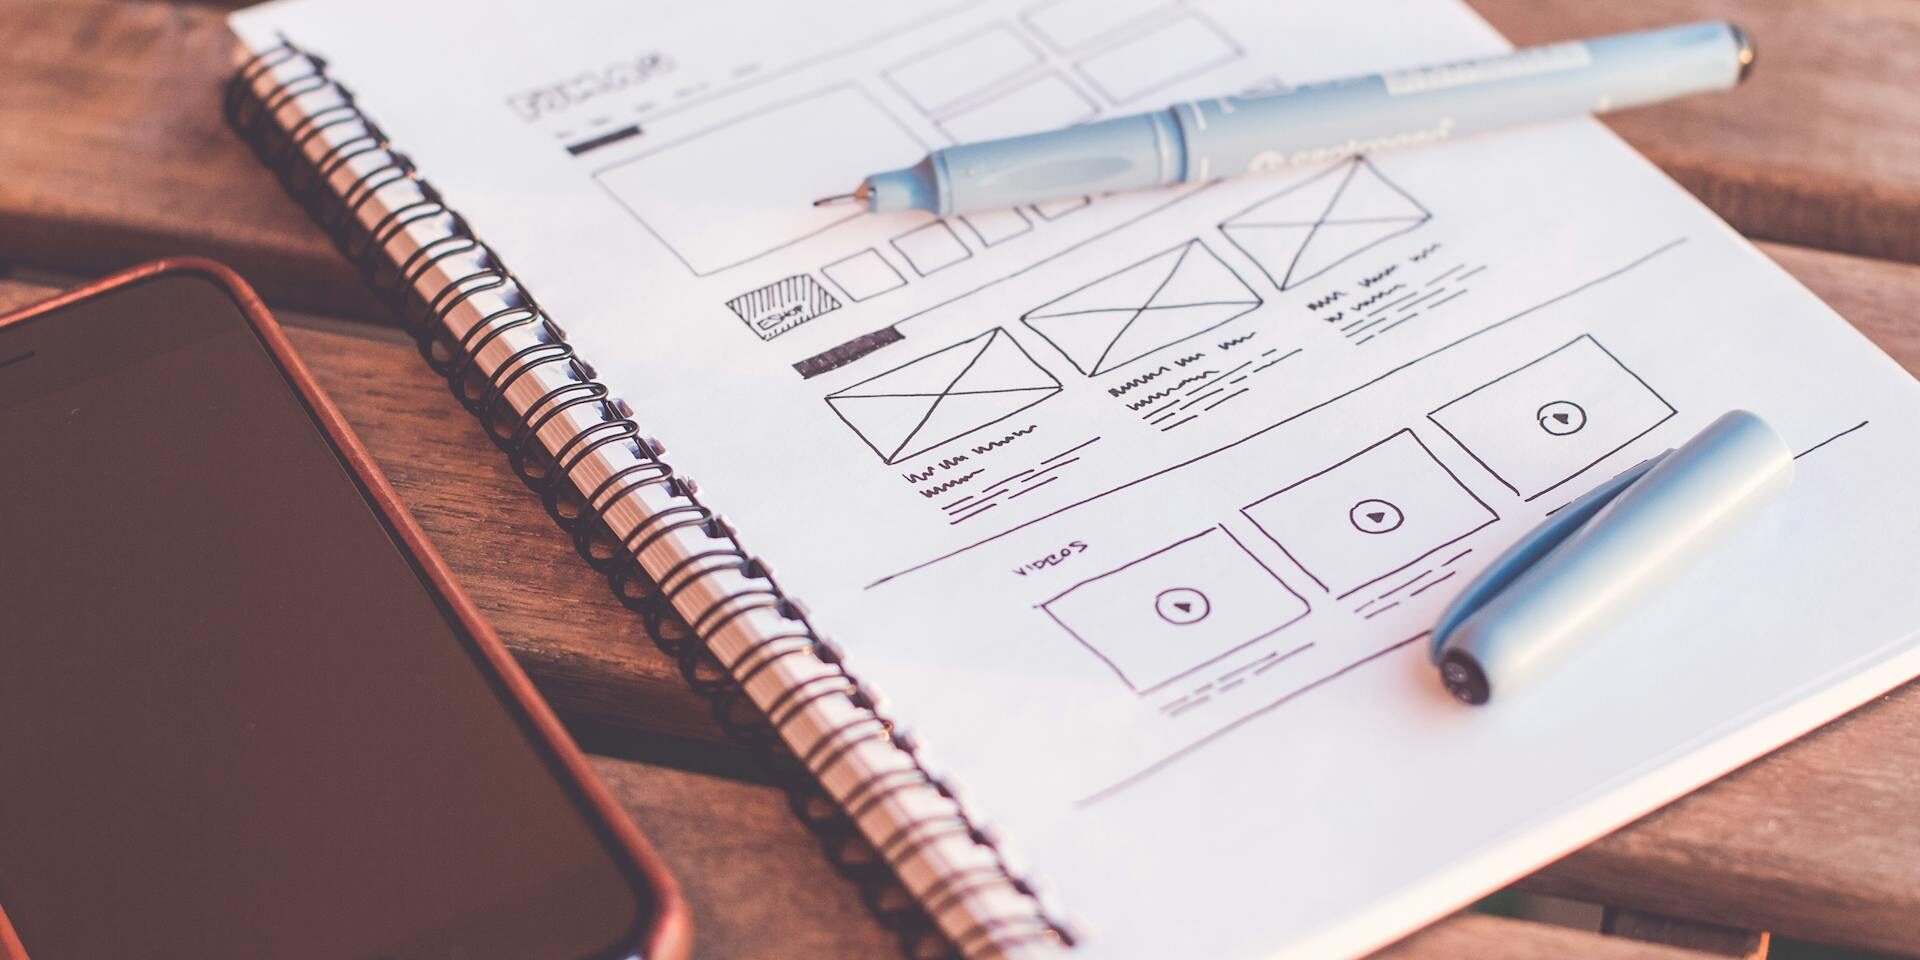
Build your core pages
Once your platform, domain, and hosting are in place, the next step in your DIY Website Checklist is to build the core pages that form the backbone of your site. These pages give visitors the information they need, guide them through your content, and help them understand what your business offers. A well‑structured set of core pages also improves usability, supports your SEO efforts, and creates a strong first impression.
Start with your home page, which acts as the entry point for most visitors. It should clearly communicate who you are, what you do, and why someone should choose you. Keep the layout simple and focused, with a clear headline, a short introduction, and a strong call‑to‑action that directs visitors to the next step. Avoid clutter and make sure the most important information appears near the top of the page.
Your about page is where you build trust. Share your story, your values, and what makes your business different. People often visit this page to understand the personality behind the brand, so write in a genuine, conversational tone. Include photos or team information if it helps humanise your business.
Your services or product pages should explain what you offer in a clear and structured way. Break information into sections, highlight key benefits, and make it easy for visitors to understand how your solution helps them. If you sell products, include detailed descriptions, high‑quality images, and pricing. If you offer services, outline your process, deliverables, and any relevant experience.
A contact page is essential for any website. Include your preferred contact methods, such as email, phone, or a contact form. If you have a physical location, add your address and a map. Make sure your contact form works correctly and is easy to use on mobile devices.
A blog is optional but highly valuable. It helps you publish fresh content, improve your search visibility, and demonstrate your expertise. Even if you don’t plan to post frequently, having a blog section ready gives you room to grow later.
Finally, include your legal pages. A privacy policy, terms of use, and cookie notice are often required, especially if you collect personal information or use analytics tools. These pages help protect your business and build trust with visitors.
By building these core pages with clarity and purpose, you create a solid foundation for your website. Each page should guide visitors smoothly toward the information they need and encourage them to take action.

Write clear, helpful content
Content is one of the most important elements in any DIY Website Checklist because it shapes how visitors understand your business and decide whether to take action. Even the best design can’t compensate for unclear or unhelpful copy.
You will find that strong content will guide people through your website, will answer all of their questions, and will help build trust way before they contact you.
Start by writing with clarity. Avoid jargon, long sentences, and complicated explanations. Visitors skim more than they read, so make every sentence purposeful. Focus on what your audience cares about: their problems, their goals, and the outcomes they want.
When you write from their perspective, your message becomes more engaging and easier to understand.
Structure your content so it’s simple to scan. Break text into short paragraphs and use headings and subheadings to organise ideas. Bullet points can help highlight key information without overwhelming the reader. This approach improves readability and keeps visitors on your site longer.
Calls‑to‑action are another essential part of your content. Every page should guide visitors toward some next step, whether that’s contacting you, making a purchase, booking an appointment, or reading another article. Use clear, direct language that tells people exactly what to do and why it matters.
Images also play a role in how your content is understood. Choose visuals that support your message rather than distract from it. Optimise your images so they load quickly, especially on mobile devices. Add descriptive alt text to improve accessibility and help search engines understand what each image represents.
Tone is equally important. Write in a voice that reflects your brand—friendly, professional, conversational, or authoritative. Consistency across your pages helps visitors feel confident that they’re dealing with a credible business.
Finally, remember that content isn’t something you write once and forget. As your business evolves, your website should evolve with it. Review your content regularly, update outdated information, and refine your messaging based on what resonates with your audience.
Apply basic SEO
Search engine optimisation is an essential part of any DIY Website Checklist because it determines whether people can actually find your website once it’s live. You don’t need to be an expert to get the fundamentals right. A few simple steps can dramatically improve your visibility and help search engines understand what your site is about.
Start with keyword research. Identify the words and phrases your audience is likely to search for when looking for your products, services, or information. Choose one primary keyword for each page and a handful of related terms. This helps you stay focused and prevents your content from becoming repetitive or unfocused.
Once you know your keywords, incorporate them naturally into your headings, page titles, and body text. Avoid forcing them into every sentence. Search engines reward clarity and relevance, not keyword stuffing. Write for humans first and refine for search engines second.
Meta titles and descriptions are another important part of basic SEO. These are the snippets that appear in search results, so they should be clear, accurate, and compelling. A strong meta title includes your primary keyword and a simple description of the page. The meta description should summarise the content in a way that encourages people to click through.
Internal linking is a simple but powerful technique. Link your pages to one another where it makes sense. This helps visitors navigate your site and helps search engines understand how your content is structured. It also spreads authority across your pages, which can improve your rankings over time.
Image optimisation is another key step. Large images slow down your site, which can hurt your search performance. Compress your images before uploading them and use descriptive alt text to explain what each image shows. This improves accessibility and gives search engines more context.
Technical SEO doesn’t need to be complicated. Create an XML sitemap so search engines can crawl your site efficiently. Most platforms generate this automatically. Submit your sitemap to Google Search Console to help your pages get indexed faster. Check for broken links, slow‑loading pages, or errors that might affect your visibility.
By applying these basic SEO steps, you give your website a strong foundation. Over time, as you publish more content and refine your pages, your search visibility will continue to improve.
Test your website thoroughly
Thorough testing is a crucial part of any DIY Website Checklist because it ensures your site works the way you expect before real visitors arrive. Even small issues—like a broken link, a slow‑loading page, or a form that doesn’t submit—can frustrate users and undermine the credibility of your business. Testing gives you the chance to catch these problems early and launch with confidence.
Begin by checking how your website performs on different devices. Most visitors will view your site on a mobile phone, so make sure your layout adapts smoothly to smaller screens. Buttons should be easy to tap, text should remain readable, and images should resize without breaking the design. Test on tablets and desktops as well to confirm everything looks consistent.
Next, review your site across multiple browsers. Chrome, Safari, Firefox, and Edge can all display elements slightly differently. A page that looks perfect in one browser may shift or misalign in another. This step helps you catch layout issues that might otherwise go unnoticed.
Functionality testing is equally important. Go through every form on your site and submit test entries to ensure they work correctly. Check that confirmation messages appear, emails are delivered, and any integrations—such as CRM tools or booking systems—receive the data they need. Click every button and link to confirm they lead to the right pages.
Page speed is another factor that affects both user experience and search performance. Slow pages can cause visitors to leave before they even see your content. Use speed‑testing tools to identify large images, unnecessary scripts, or other elements that may be slowing your site down. Making small adjustments can significantly improve load times.
Don’t forget to test your navigation. Move through your site as if you were a first‑time visitor. Is it easy to find key information? Do the menu labels make sense? Are there any dead ends or confusing paths? A clear, intuitive structure helps visitors stay engaged and reduces frustration.
Finally, check for technical errors. Look for broken links, missing images, or pages that return unexpected messages. Review your site’s security settings and confirm that your SSL certificate is active. These details help protect your visitors and ensure your site is ready for public access.
Testing may feel repetitive, but it’s one of the most valuable steps in the entire process. A well‑tested website creates a smoother experience for your audience and sets the stage for a successful launch.
Prepare for launch
Preparing for launch is one of the final and most important steps in any DIY Website Checklist. This is the stage where you shift from building to polishing, making sure every detail is in place before your site goes live.
A careful pre‑launch review helps you avoid embarrassing mistakes, technical issues, and usability problems that could undermine your credibility on day one.
Begin by proofreading all your content. Read through every page slowly and check for spelling errors, awkward phrasing, or outdated information. It’s easy to miss small mistakes when you’ve been working on your site for a while, so consider reading your content aloud or asking someone else to review it with fresh eyes.
Next, test your navigation from a visitor’s perspective. Move through your site as if you’ve never seen it before. Does the menu make sense? Are the most important pages easy to find? Do your calls‑to‑action lead to the right places? A smooth, intuitive navigation structure helps visitors stay engaged and reduces frustration.
Check that all your buttons, links, and forms work correctly. Click every link, submit every form, and test any interactive elements. Make sure confirmation messages appear where they should and that emails or notifications are delivered properly. Broken links or non‑functional forms can quickly erode trust.
Before launching, confirm that your tracking tools are set up. Google Analytics, Google Search Console, and any advertising pixels should be installed and verified. These tools give you valuable insights into how people find and use your site, and they’re much easier to set up before you start receiving traffic.
Security and backups are also essential. Ensure your SSL certificate is active so your site loads securely. Set up automated backups through your hosting provider or website platform. This protects your content and gives you peace of mind in case something goes wrong after launch.
Finally, take a moment to review your site’s overall presentation. Check your images, spacing, headings, and layout for consistency. Make sure your branding is applied correctly across all pages. A final visual sweep helps you catch small details that may have been overlooked during the build.
Once everything is polished and tested, you’re ready to publish your site and share it with the world. A thoughtful launch preparation process ensures your website makes a strong first impression and sets the stage for long‑term success.

Launch your website
Launching your website is an exciting moment, but it’s also a step that deserves careful attention. After all the planning, building, writing, and testing, this is the point where your work becomes public. A thoughtful launch process helps you make a strong first impression and ensures your site starts off on the right foot.
Begin by switching off any “coming soon” or maintenance mode settings. This may seem obvious, but it’s a common oversight when you’ve been working behind the scenes for a while. Once your site is live, check it again from a visitor’s perspective to make sure everything displays correctly and loads as expected.
Announce your launch through the channels that matter most to your audience. Share the news on your social media platforms, send an email to your mailing list, and let your existing customers or contacts know that your new site is ready. A simple announcement can drive early traffic and help you gather initial feedback.
If your business relies on local visibility, consider submitting your website to relevant directories or updating existing listings with your new URL. This can help improve your online presence and make it easier for people to find you. For businesses that depend on search traffic, this is also a good time to double‑check that your site is indexed in Google Search Console.
During the first few days after launch, monitor your site closely. Keep an eye on your analytics to see how visitors are interacting with your pages. Look for any unexpected spikes in traffic, error messages, or issues with forms or checkout processes. Early monitoring allows you to catch and fix problems quickly before they affect too many users.
It’s also helpful to gather feedback from real visitors. Ask a few trusted people to explore your site and share their impressions. They may notice things you’ve overlooked, such as unclear wording, confusing navigation, or images that don’t load properly. This kind of feedback is especially valuable in the early stages, when small improvements can make a big difference.
Launching your website is more than just pressing a button. It’s the beginning of a new phase where your site becomes a living part of your business. With a careful and deliberate launch process, you set yourself up for long‑term success and create a strong foundation for future growth.
Continue improving after launch
Launching your website is an important milestone, but it’s not the end of the process. A successful site is one that evolves over time, adapts to your audience, and improves based on real‑world data. This is why ongoing refinement is a key part of any DIY Website Checklist. Once your site is live, your focus shifts from building to maintaining, analysing, and enhancing.
Start by monitoring your analytics. Tools like Google Analytics and Search Console show how visitors find your site, which pages they view, and where they drop off. These insights help you understand what’s working and what needs attention. Look for patterns: pages with high bounce rates, slow load times, or low engagement often benefit from clearer messaging or improved layout.
Content updates are another important part of post‑launch improvement. Over time, information changes, services evolve, and new questions arise. Refreshing your content keeps your site accurate and relevant.
Make time every week or month to add new blog posts, update outdated sections, and expand pages that attract strong traffic. Search engines reward websites that stay active and provide fresh value. Don’t let your website go stale and attract cobwebs, so to speak.
The whole user experience should also be reviewed regularly. As you gather feedback from customers or notice how people navigate your site, you may find opportunities to simplify your menu, improve your calls‑to‑action, or reorganise your content. Small adjustments can make your site easier to use and more effective at guiding visitors toward the actions you want them to take.
Technical maintenance is equally important. Keep your platform, plugins, and themes updated to ensure security and performance. Check for broken links, missing images, or outdated scripts. Regular maintenance prevents issues from building up and keeps your site running smoothly.
As your business grows, your website should grow with it. You might add new service pages, expand your portfolio, introduce an online store, or integrate new tools. Treat your website as a living asset—one that supports your goals and adapts as your needs change.
By continuing to improve your site after launch, you ensure it remains useful, relevant, and aligned with your business. This ongoing attention is what turns a basic DIY website into a long‑term, high‑performing digital presence.
Conclusion
A well‑structured DIY Website Checklist does more than guide you through the technical steps of building a website. It gives you clarity, confidence, and a sense of direction at every stage of the process. When you break the work into manageable parts—planning, branding, content creation, SEO, testing, and launch preparation—you remove the uncertainty that often makes website projects feel overwhelming.
Building your own website is not just a technical task. It’s a creative project, a strategic exercise, and an opportunity to shape how your business is seen online. By taking the time to plan carefully, write meaningful content, and test thoroughly, you set yourself up for a website that not only looks professional but also supports your goals and serves your audience well.
And once your site is live, the work doesn’t stop. A successful website grows with your business. It evolves as you learn more about your customers, refine your services, and expand your online presence. The more attention you give it over time, the more value it will return.
With the right approach and a clear checklist to follow, building your own website becomes a rewarding and achievable project. Whether you’re launching your first site or refreshing an existing one, this DIY Website Checklist gives you the structure you need to create something you’re proud to share with the world.